Ashley's E-Portfolio
Image Editing

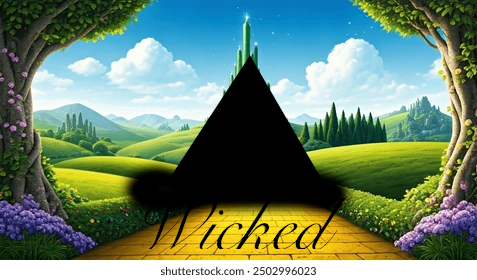
This is the book cover that I created in Module 1. I am currently reading Wicked: the Life and Times of the Wicked Witch of the West. I used GIMP to create a montage of several bitmap images, combined with text, to create the cover for this book.

I created a logo for an instructional designer, since that is what I hope to be when I am finished with this masters program. For the lightbulb, I started with a circle using the ellipsis tool. I changed the fill color to a light orange. Next, I used the squares and rectangle tool to create a square at the bottom of the circle. I used the align and distribute dialog to align the objects vertically. Then, I turned them into a single object by going to path and choosing path union. After that step, I switched to the nodes tool. I went to show transformation handles for selected nodes to narrow the base of the lightbulb. I went back to path and chose path effects to round the corners of the circle to create the bulb shape. For the metal parts of the bulb, I used the squares and rectangle tool to insert a rectangle. I used control + D to duplicate the shape and changed the color to medium gray. To insert the text, I used the text tool. To resize the text to the size I wanted, I clicked and dragged the diamond.
Reflection: Learning to use Gimp and Inkscape presented the steepest learning curve in this course due to their complexity and the depth of features they offer. Inkscape's focus on vector graphics required me to grap concepts like pahts, nodes, and scalability - topics I had little prior knowledge or experience with. The challenge wasn't just technical but also cognitive. These tools required me to think like a designer, balancing creativity with functionality. Mastering these tools will be rewarding and expand my capabilities to create professional-grade instructional materials.